
Feature Project: "The Most Powerful Dab"
|
|
OriginsThe original concept for my feature project was something I've been bouncing around in my head for years, slowly accumulating more detail and texture until I finally put the idea to paper as my submission for my final project for my "Writing for Visual Media" class (JTC 342-801). The whole script can be read in full to the left of this page.
For that project, I submitted a nine page script about a dance contest where the contestants only perform one move, the "dab". However, the performance of said move is done in gradually higher and higher tiers; the highest of which, releases energy equivalents of nuclear-yield explosions. The story revolves around a Hero who has been training for years to avenge his father, who died during a dabbing incident caused by the Dapper Dabber. The Dapper Dabber is depicted as the villain in the story who is unbeatable in the dabbing competition. The Hero challenges him and performs a counter-dab that leaves the Dapper Dabber stunned. The script ends with the Hero's victory and the Dapper Dabber's defeat. The story has flashbacks to the Hero's training and memories of his father, which add a sentimental element to the script's comedic tone. This initial idea and script takes inspiration from the works of Corridor Digital, who've made live-action skits in the style of Japanese Animations. An example of their work can be seen in the video below. |
Developing the Project
The Audiowork
|
With the script on hand, the next step was to lay out a plan on out how to develop the project into it's final form. Since the project is largely inspired by animation, it makes sense to develop the project much like an animated video.
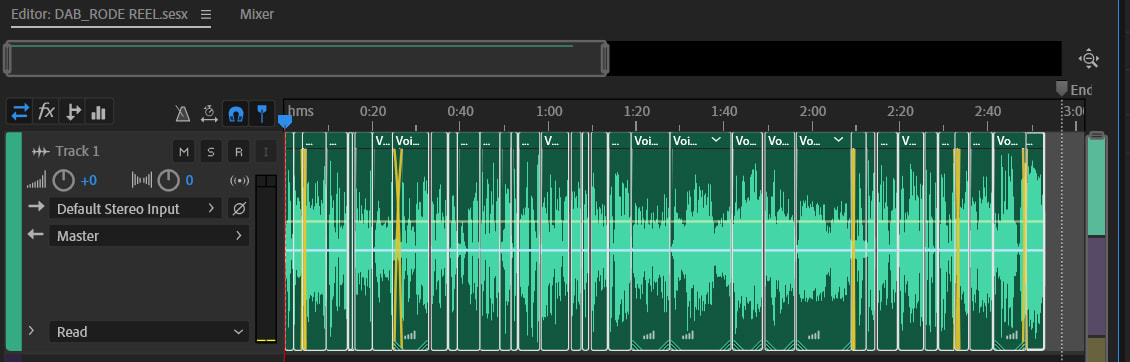
With that in mind, the next logical step was to develop the audio of the project before working on the visuals. To do this, I first needed to get all the voice lines recorded before editing them together. I voiced a majority of the lines, between the main antagonist to some of the extras, like the announcer and some of the other participants in the Dab contest. For the main protagonist, I borrowed the voice of my friend Simon. With all the voice lines recorded, I then selected the best takes and glued them together in audio editing software Adobe Audition. Once an initial pass of all the voice lines were in place, it was time to flesh out the timing and delivery of the lines. For this step, it was instrumental to add sound effects to supplement the voice lines. For the majority of sound effects, I either relied on a personal library of sounds I built over the years or used freesound.org for anything I didn't have or couldn't record easily. The next step was to find appropriate music that would thematically flavor the whole piece into a standalone audio-drama. This step required scouring various royalty-free music sites for particular pieces that fit the narrative of story. After days of sleuthing, I settled on a couple of tracks from the site Machinima Sound and tied it all off with a track from an artist I had been following from the artist site Newgrounds, who goes by the username of Evil Raccoon. I managed to get his blessing to use one of his tracks for this project. All the audio work in place, the last step is mastering, the process of balancing levels of volume and dynamic range, as well as adding auditory effects. Essentially making sure the whole piece didn't blow out speakers and eardrums when played. The final result can be heard via the download to the left, or streamed via this WEBLINK. |
| ||
|
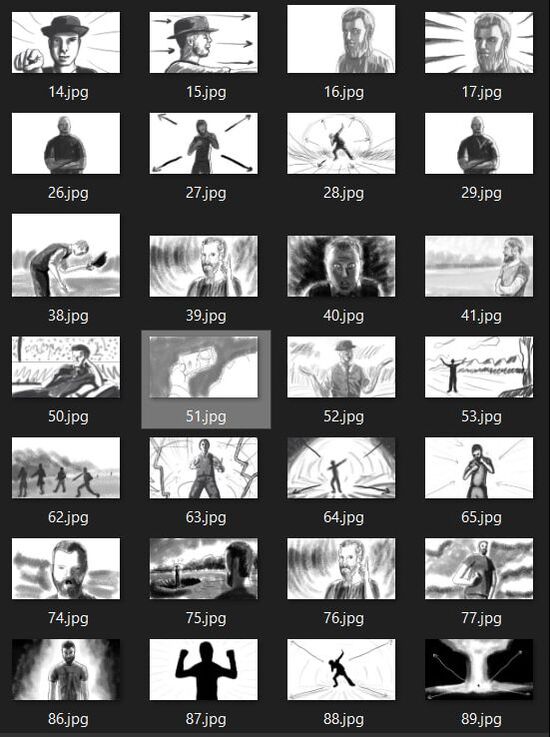
The Pre-Visual WorkWith the full audio mixed together and exported into one cohesive file, it is time to develop some preliminary images for storyboarding the project in an animatic. In addition to those, a shot-list will need to be developed as a guide for filming the project.
Though not as labor intensive as full blown animation, storyboards are a good way to draft the visual elements of a piece sketched out before going any further into the project. However, combining the already made audio and the storyboard together in a draft video does an even better job of communicating the audiovisual direction this project is going into. |
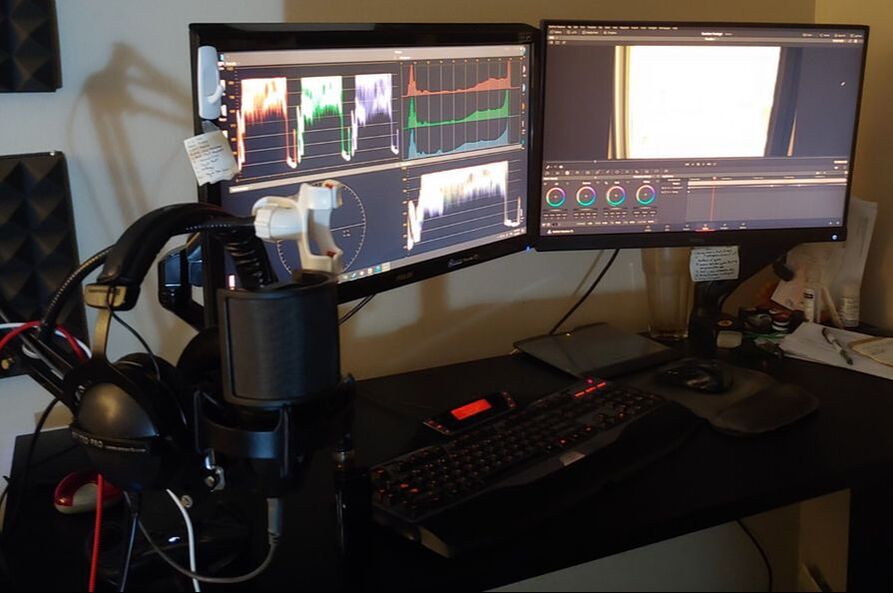
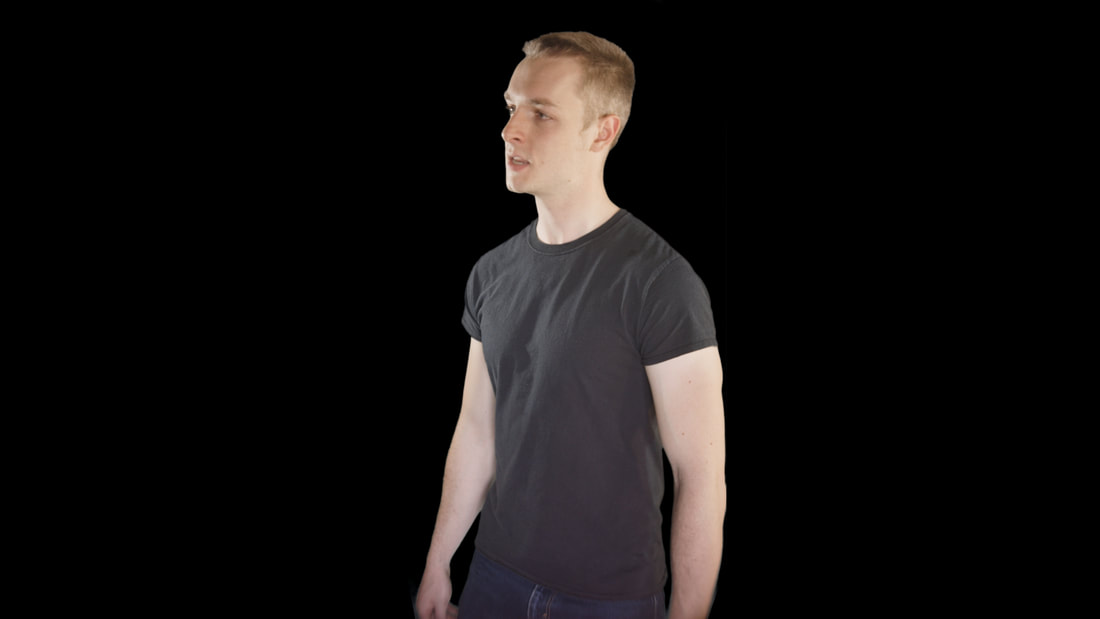
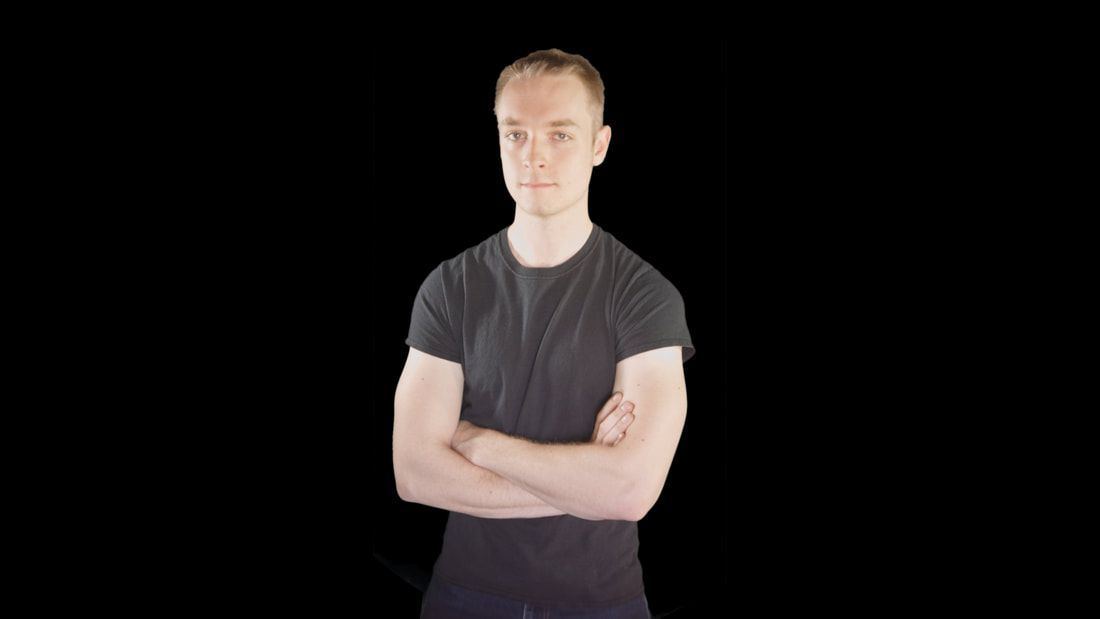
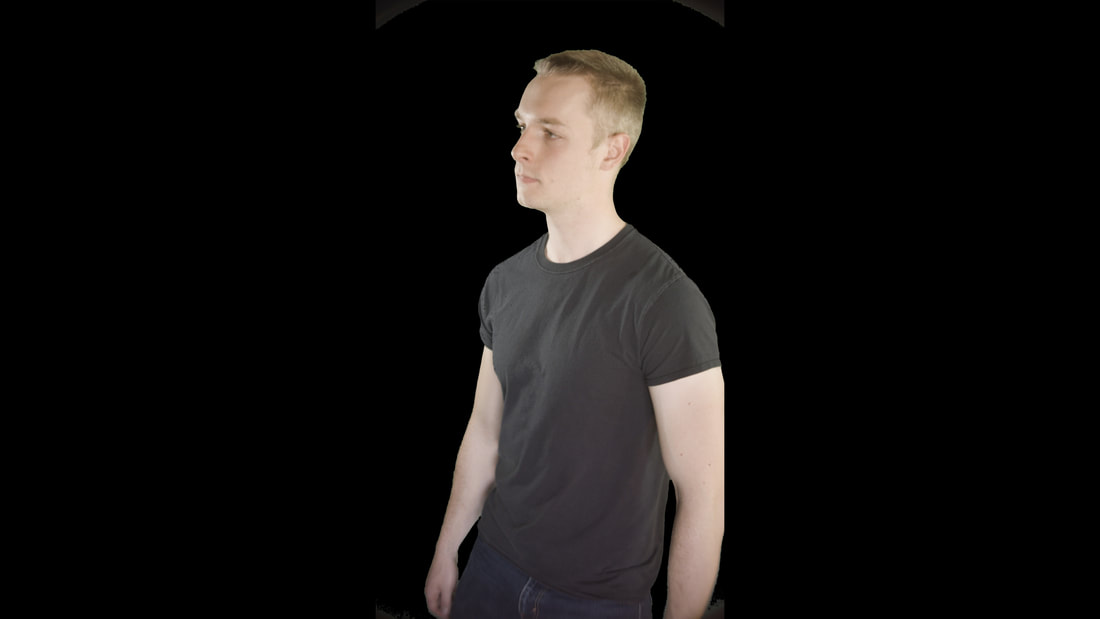
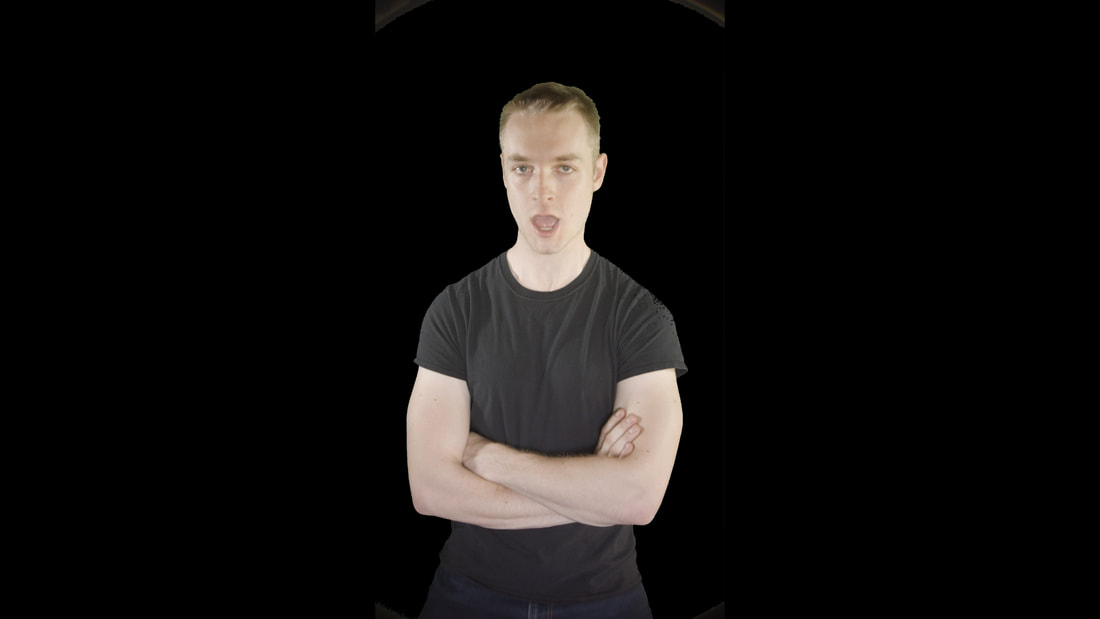
The Production PhaseHere begins the actual meat of the project, I started by filming myself, my buddy Simon and another actor in front of a green screen as well as out on location, to which I've chosen a local park. The main camera I used for this project is the original Black Magic Pocket Cinema Camera (BMPCC).
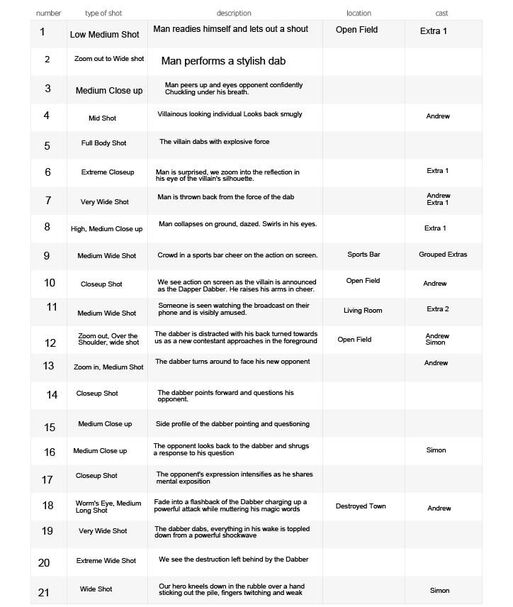
While some shots will retain their original background environments from the day of shooting, other shots (specifically the green screen scenes) will have their backgrounds replaced with either footage of the locations we used as well as some artistic backgrounds like swooshing colors and completely fabricated environments created using a combination of photographed resources, 3D scenes and A.I. generated landscapes. The intensity of work from shot to shot has greatly varied in work intensity. So, in order to sort out scenes between least to most work intensive, a shot-list was produced as a tool to mark and organize all remaining shots to create and how; with the more work intensive scenes requiring additional logistic planning and technical learning. One technical challenge was with lighting on the green screen. With my on-hand equipment, it wasn't bright enough to get a clean key out from the shots we filmed. This was overcome by switching to a different video editing program, in this case I transitioned from Adobe Premiere Pro / After Effects to Blackmagic Design's DaVinci Resolve. The coloring tools in DaVinci Resolve are World-Class, as they allowed me better flexibility with the coloring of the images. I used these tools to brighten the green screen's intensity without changing color on anything else in the image. I was also surprised to find that the keying tools in DaVinci Resolve were much more refined, yielding a cleaner keyed video without the need to resort to as much rotoscoping over the things I wished to cut from the video; which is a process that is as labor intensive as animation. Not all of the shots were filmed at the same time, mind you. There were multiple instances where I needed to shoot some additional scenes or reshoot some shots that were too poor in quality to derive the desired visual fidelity from. While many shots were plug and play, others did require a lot of work and tweaking to get somewhat passable. I did realize in the process that I may not be able to get everything 100% perfect, so I've adopted the mantra of "better done than perfect" in this project. Do expect a lot of jank when you see the final video. |
Note the differences in background clarity and in color between Blackmagic Design's DaVinci Resolve (Top Row) and the same shots graded and keyed in Adobe's Premiere Pro (Bottom Row).
|
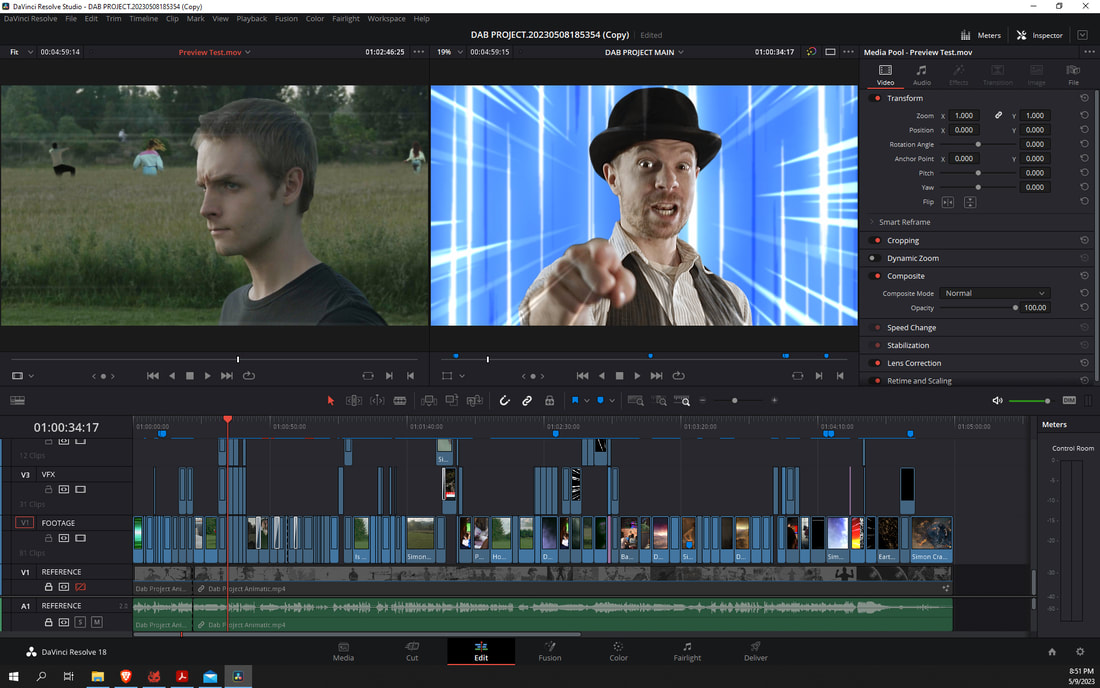
A preview of the editing timeline for the project.
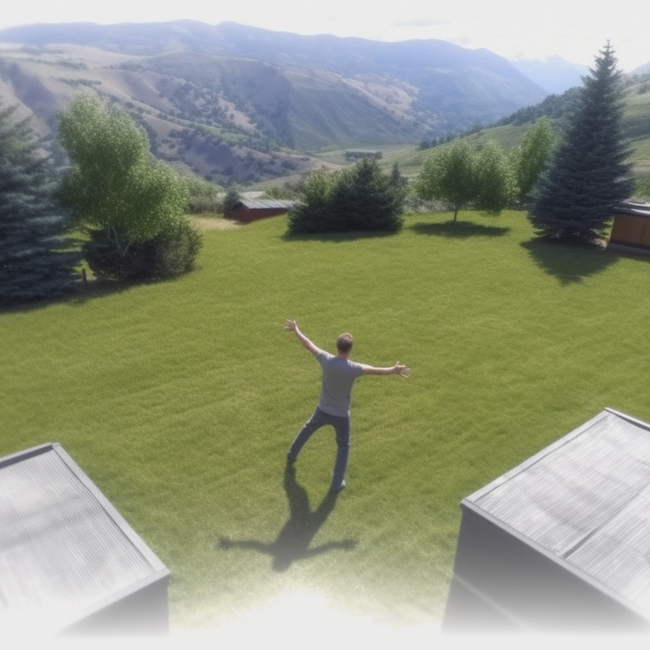
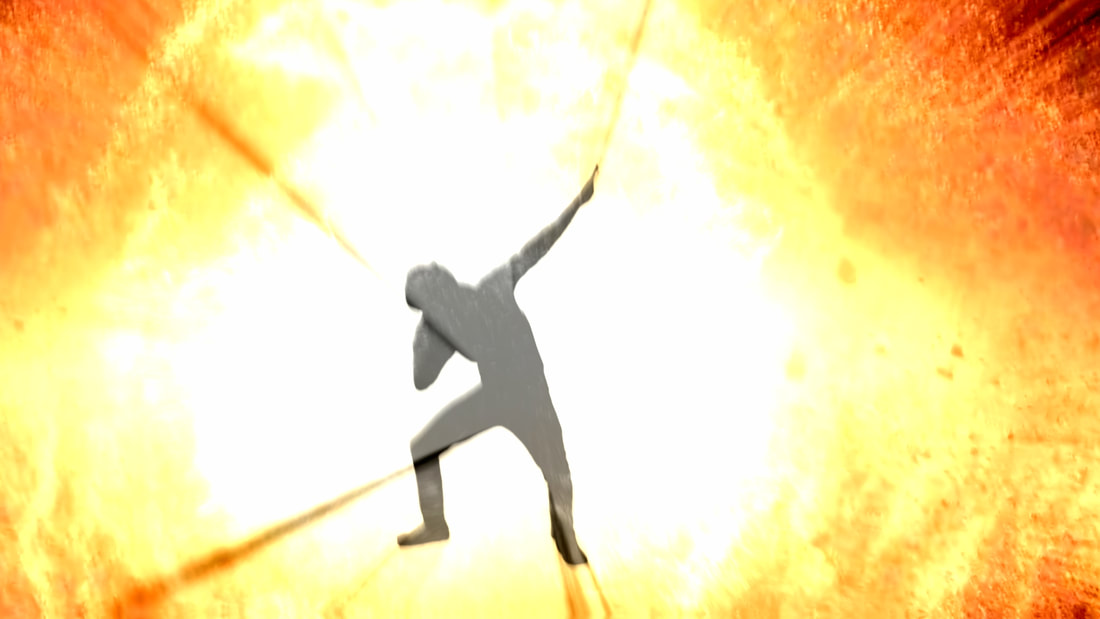
One of the many images generated using Midjourney featuring the Hero in a flashback scene.
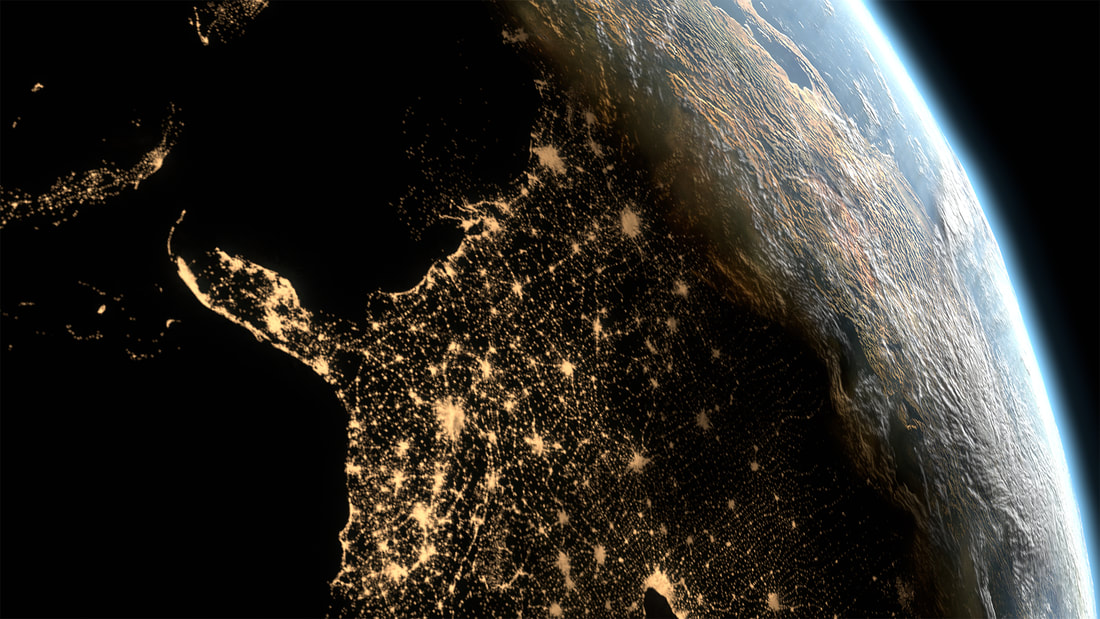
A 3D representation of Earth made in Blender showing the city lights illuminating the night side.
|
The Post Production ProcessAs filming was conducted, every shot was immediately transferred to my editing PC where the footage was imported into DaVinci Resolve and proxies of the footage was generated in order to make the project more manageable to edit. First, the animatic was added to the timeline in order to have a reference of the pacing and beats of the story, scene-by-scene. Then the footage was layered on top of that and edited accordingly.
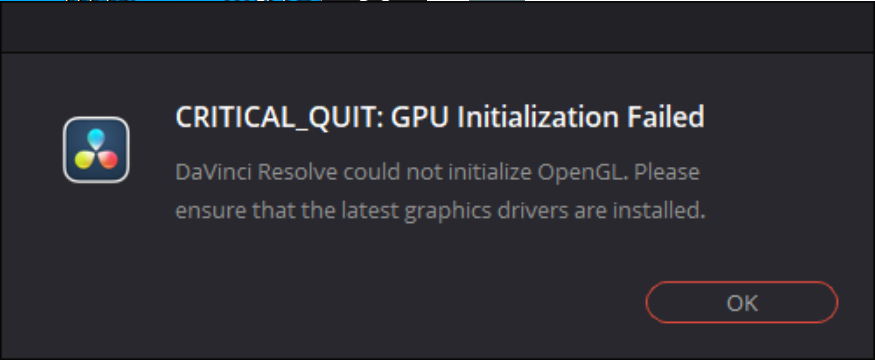
Once quick edits were made, each shot was then color corrected, as the BMPCC only shot in LOG (Logarithmic) video, which yields a rather flat and grey image out of the camera, but grants me lots flexibility in color editing the footage. Using DaVinci Resolve's node-editing workflow, I started each shot with a quick color correction the make the shot look more like how it was filmed, then a hint of sharpening to bring out a touch more detail from the images, followed by a denoising pass to reduce the amount of unwanted grain from the images. With color correction done, the next job was to do the visual effects (VFX). Green screens were keyed out and backgrounds were replaced, usually with a bit of tweaking shot-to-shot. For other shots that were filmed on location, but needed backgrounds to be replaced, I turned to one of Resolve's premium tools, which is the Magic Mask tool. This allowed me to select the subject I wanted to keep in the image, while deselecting anything I wanted to disclude in the shot with a few broad strokes. Saving me hours of painstaking frame-by-frame rotoscoping work. Though the results aren't always perfect and some tweaking was required, depending on the shot. For background replacements, some were blank-plate footage of the locations we filmed in, adjusted with a bit of artistic manipulation, such as replacing the skies with more dynamic cloud cover (when they'd otherwise be blown out to pure white in the original shot), However as they story progressed, the environments that my characters are based in get altered dramatically. While I was originally planning to use Blender (the free and open source 3D program) to generate the destroyed environments, in combination with some photographic references and stock footage composited altogether. During the production of this project came a wave of new A.I. tools for image generation. Upon much dabbling and experimentation, the service I ended up using for this project is Midjourney, which proved invaluable as it yield excellent results for photorealistic environmental art while saving me an incredible amount of time that would have otherwise been spent building and rendering environments in 3D. Though 3D wasn't completely excluded from this project's workflow; one of the final shots of the project detailed an orbital view perspective of the earth with a bright flash across the terrain to represent the power of the final dab. Having consistency between two images was something that Midjourney and other A.I. art generators struggle with. So that shot was built from scratch in 3D by using simple spheres, textured with high quality images of the planet by NASA, along with topological data and weather patterns to create an animation better than any A.I. image or video generator can create (at the time I wrote this). However this project hasn't been without any setbacks. The latter third of post-production has been plagued with technical difficulties on account of how large and unwieldly the project has grown. First started the stuttering playback in the editing timeline, which I managed to slightly mitigate by using proxies of my footage and building a disc cache, lowering the amount of RAM the project file used. For context, my machine has 32 GBs of system memory that would get completely filled up if I hadn't used a disc cache. Then came some frequent errors that popped up due to multiple factors. On the approach of finishing the project, things got worse with Resolve crashing frequently and project files getting corrupted. Fortunately, I had my settings made to make frequent backups in case this happened, but booting up those backup files meant a lot of retreading of previously done work and rebuilding a new disc cache for the project. Eventually, to make thing easier for my PC when it come to the final project render, I pre-rendered nearly every VFX heavy shot in the project individually in the timeline in order to gain some sense of stability. If I were to do this again, I probably would have done that sooner. |
Release and DistributionThough with all of that work done, it was time to get this project exported. First as is in it's original 1080p format, which will then get upscaled using Topaz Labs Video Enhance AI up to 8k in order to sharpen the details. That file will later be added to a new timeline with the full-quality audio and reencoded down to 4k for the most crispy-clear image quality I can squeeze from this video.
Next is the distribution plan, while YouTube will be the target of the primary demographic of this video, I still have some very fond ties to the community at Newgrounds, so I posted it early there to get an early assessment of what the reception of this project would be. All the while, the YouTube premiere will be a week out from the Newgrounds premiere, so that community would be getting an exclusive sneak peek. While a pre-release like this does come with a risk of people poaching the video off NG and releasing it on YouTube and other sites, I've preemptively gone ahead and upload a copy to other sites first in order to secure a foothold of any potential copyright theft. Though, I'm not expecting this to be a smash hit, but rather more of a sleeper hit. Of course, you can't grab attention anywhere without a simple and catchy title and thumbnail. So I assembled one using a screenshot from the short film. For the face, I learned how to train stable diffusion on my own likeness in order to generate an anime style piece based on my appearance in the project. While the result isn't 100% accurate to my appearance, notably with the clothing, I think the image in of itself does communicate the broad strokes of the character's image and personality. With the video uploaded, it was then time to help generate some hype for the project by sharing images and gifs of the project across various related communities. Expectations for reception of this video are low as I fear the majority of people may not click on this video based on their preconceived notions about "Anime" content and seeing a live-action video in it's place. |
A screenshot from the Dab Project, in which the Dapper Dabber performs a Level 3 Dab.
A thumbnail made for the project featuring an artistic over exaggeration of the Dabber character, generated using a Stable Diffusion anime model with a few choice LORAs.
|
